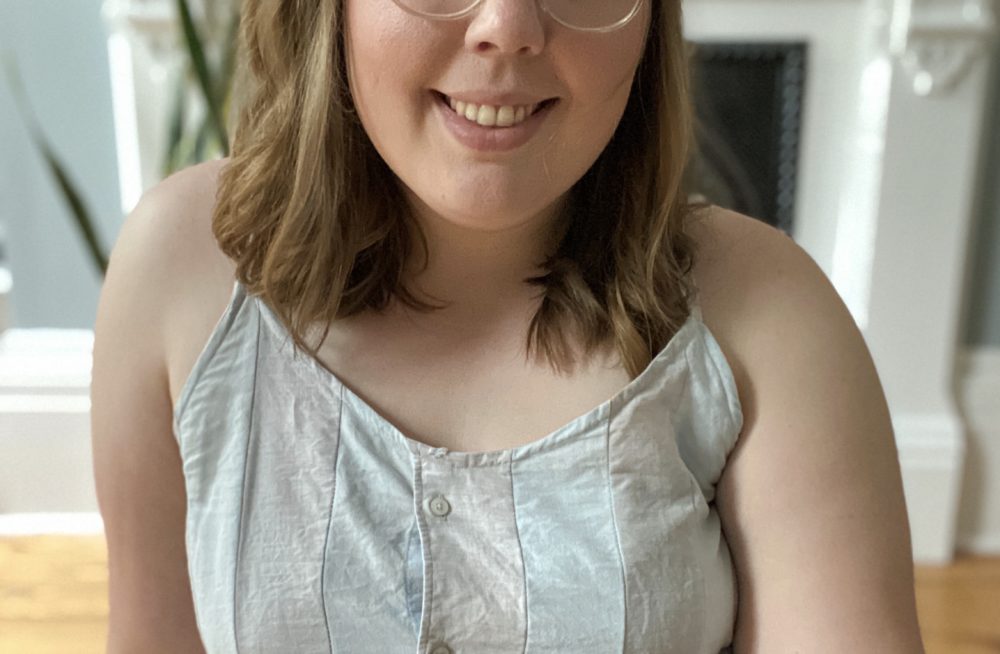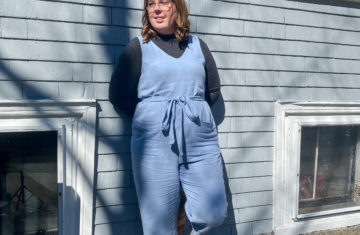

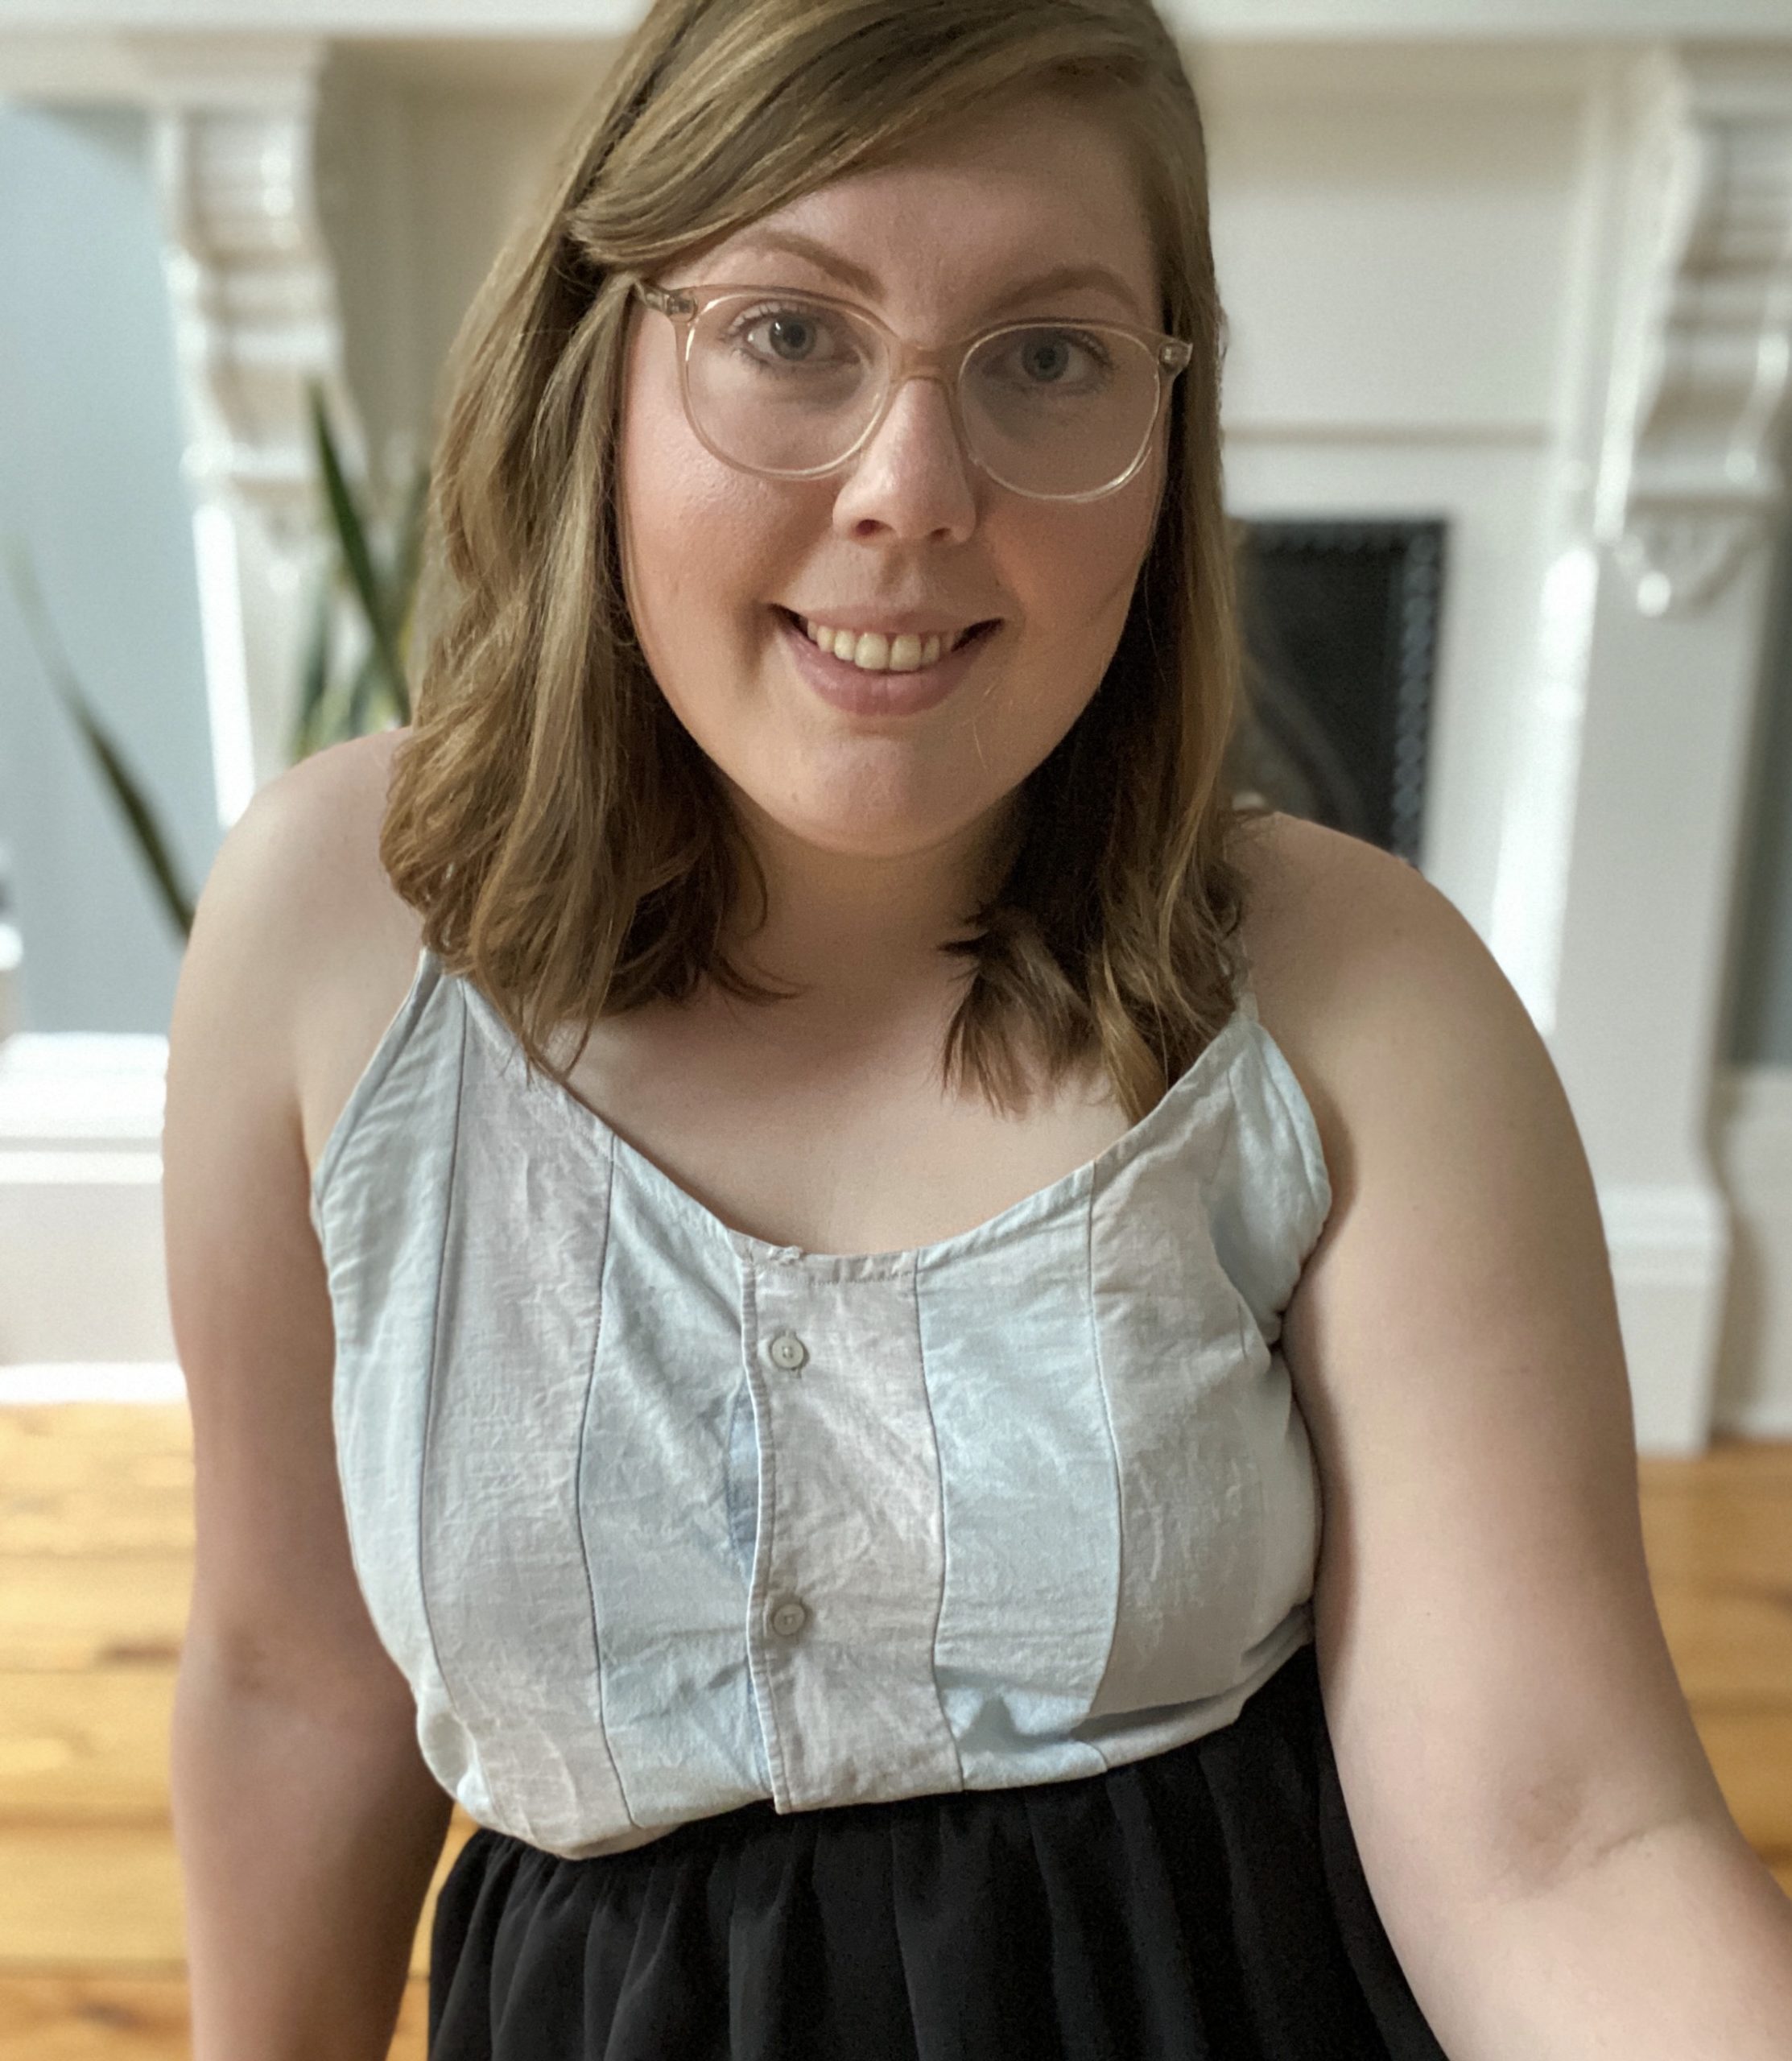
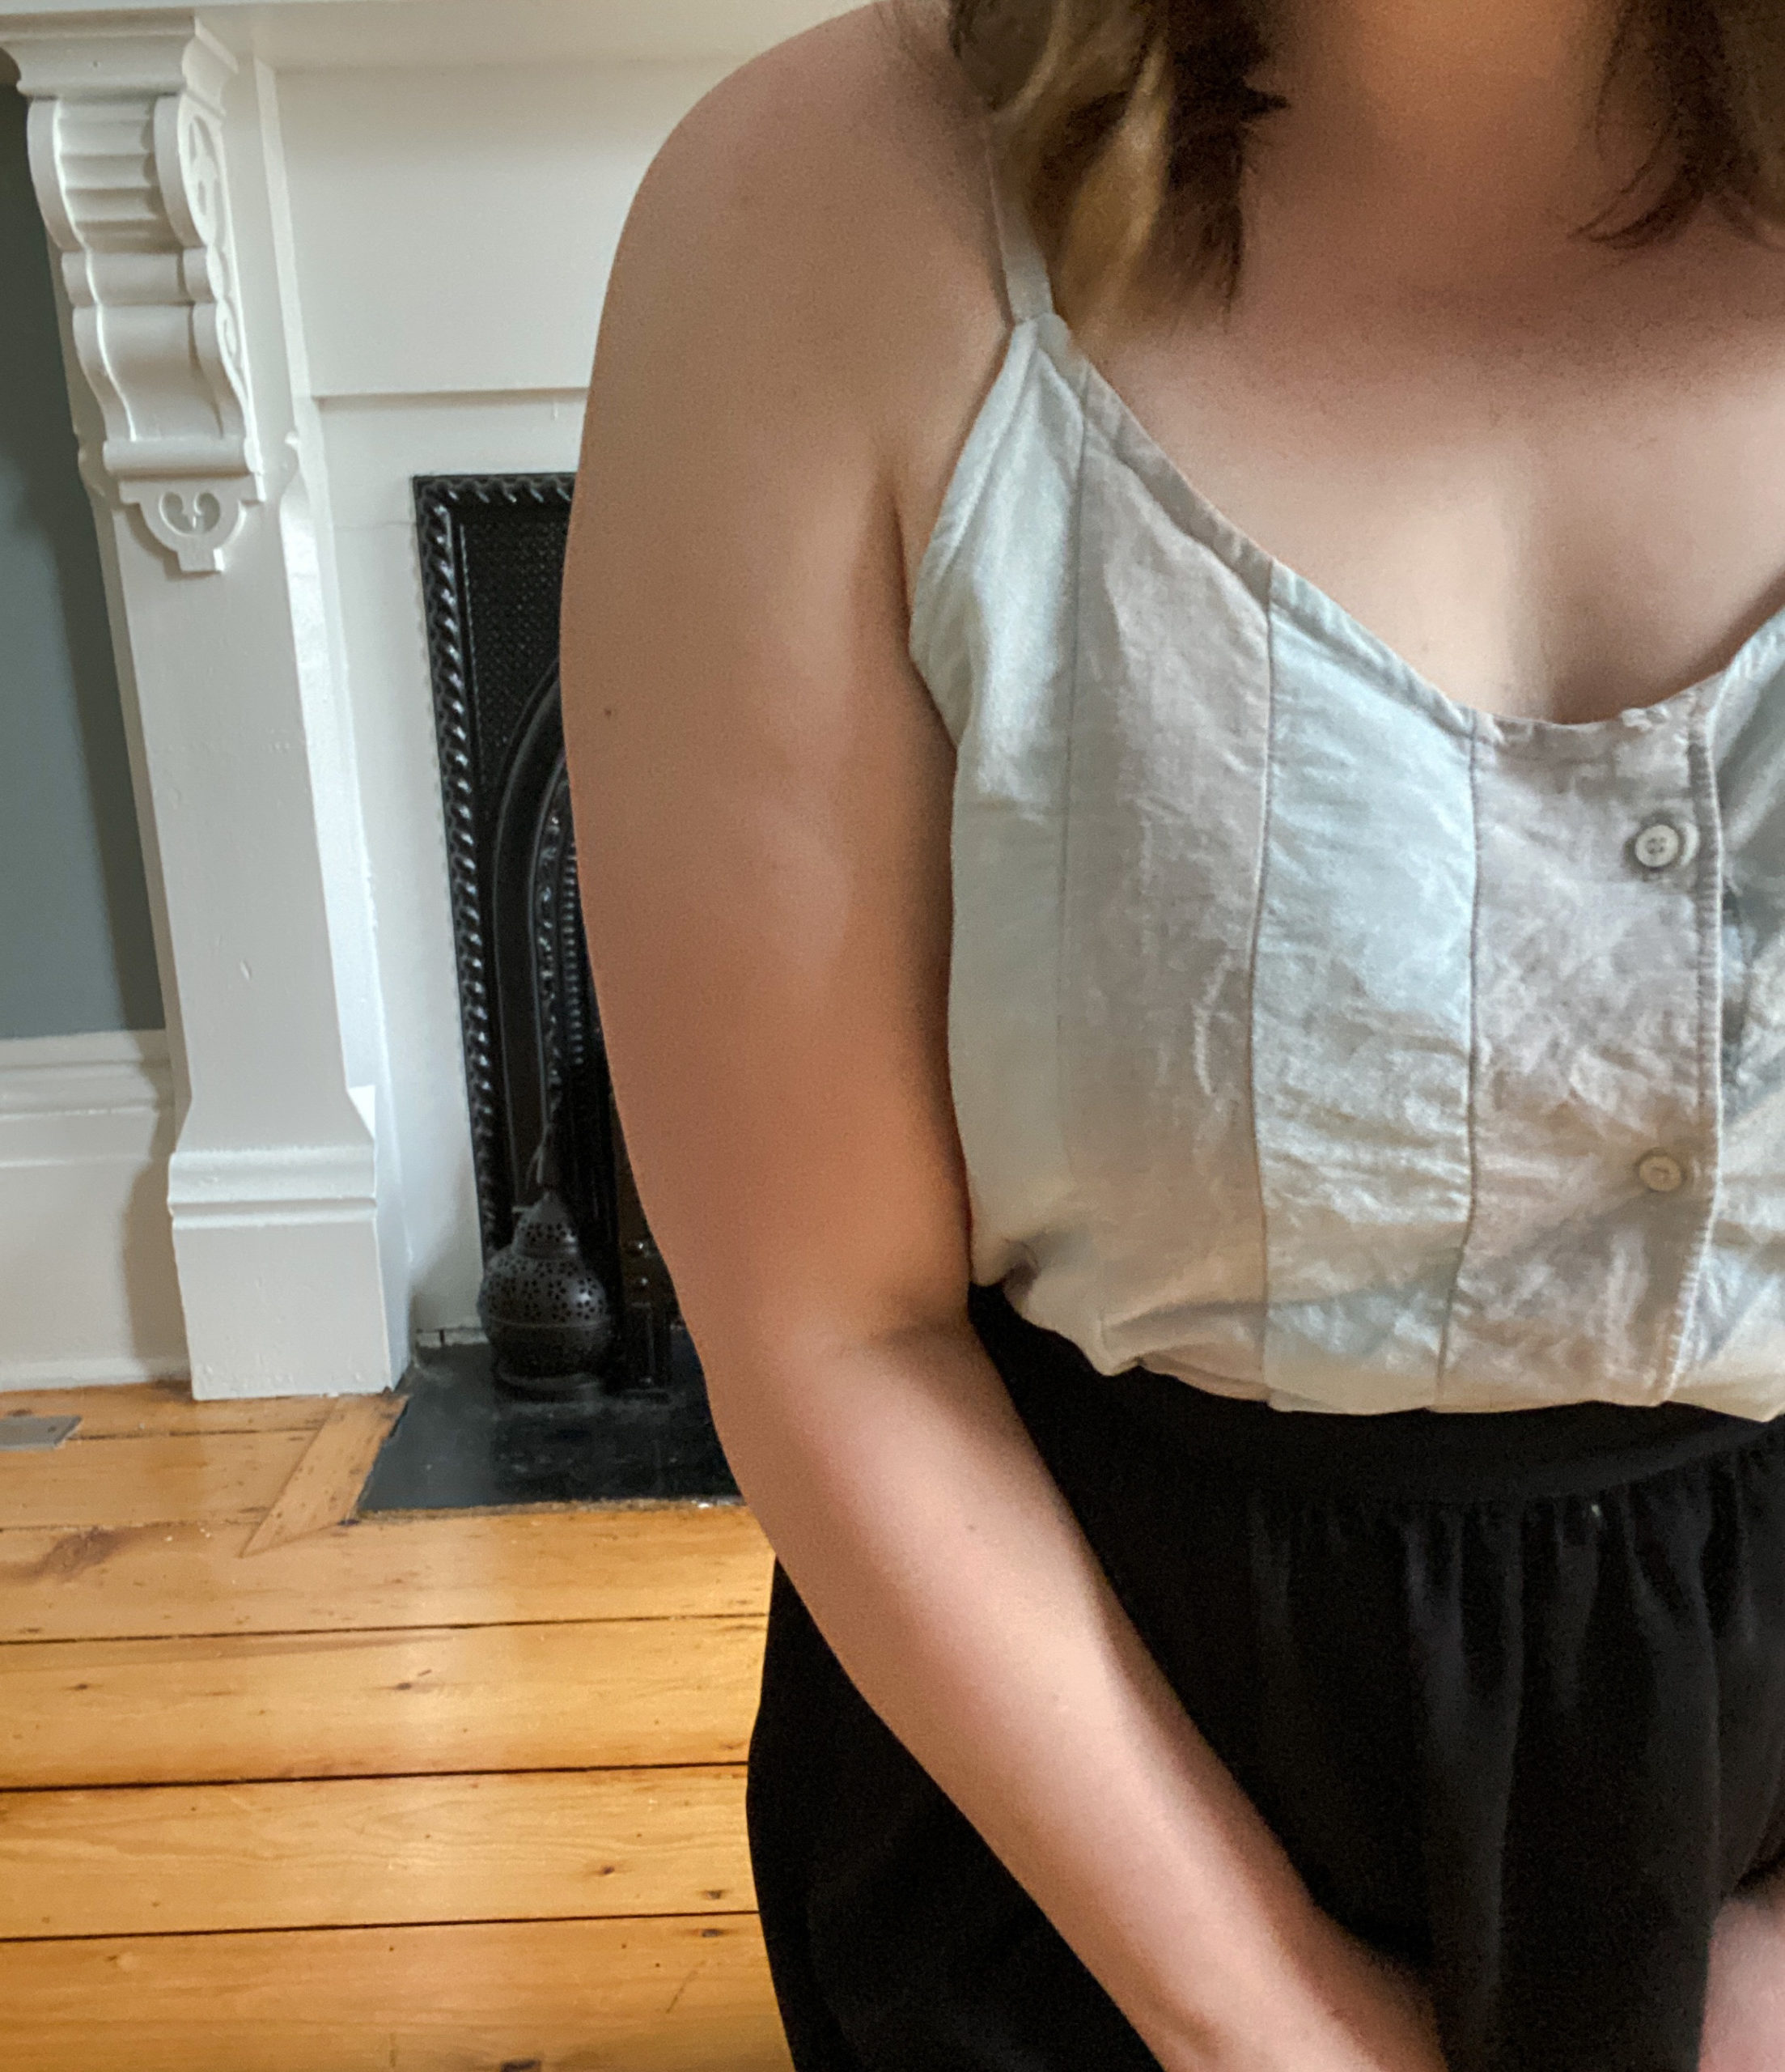
My ReMade May project for this week was to take two button-up shirts, one light denim and the other linen, and transform them into a light and floaty top for summer. The light denim top was an old favourite of mine but holes had formed around the front pockets that were difficult to mend. The linen shirt was a thrifted score but had become too small for me. I thought the fabric of the two looked gorgeous together and wanted to find a way to incorporate both into one top. I’ve been really inspired lately by the scrappy sewing that is all over my Instagram feed ( like this top that is so heart.eyes.emoji). My vision was to create a stripey fabric with my two shirts and preserve the button plackets to incorporate the buttons from the originals into the new one.
For the pattern, I chose to use the Ogden Cami by True Bias. I’ve made this pattern before and I thought it’d be a great fit for what I was envisioning. I actually started out by making adjustments to the pattern to size it up beyond the upper size. Because my body has changed since the last time I made this pattern, I thought for sure I’d need those adjustments to get a good fit. I ended up having to size it down after I sewed it up and could have probably gone with the size 18 to start with, but it was a great opportunity to work on my drafting and grading skills.
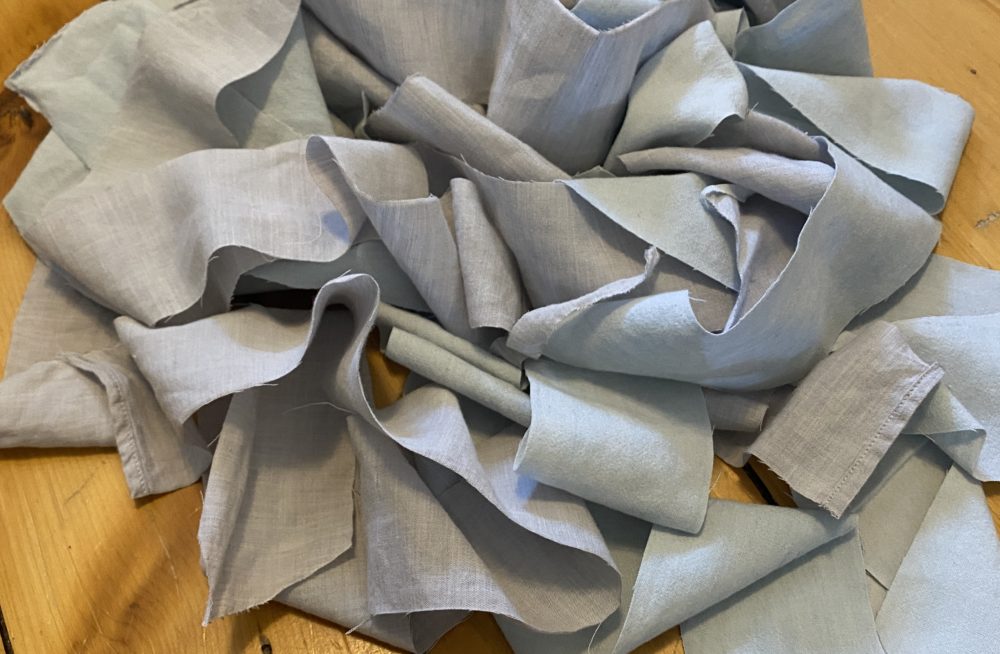
The first step of this make was to cut the shirt up into strips to see how much fabric I would have to work with. Even though I knew I wanted to make the Ogden Cami, I didn’t know until I deconstructed the shirts that I would have enough fabric to do so. I used a ruler and my cutting mat to create 2 ½ inch strips (2 inches for the strip and ¼ inch seam allowance on each side) out of the back and front panels of the shirts on the grainline.
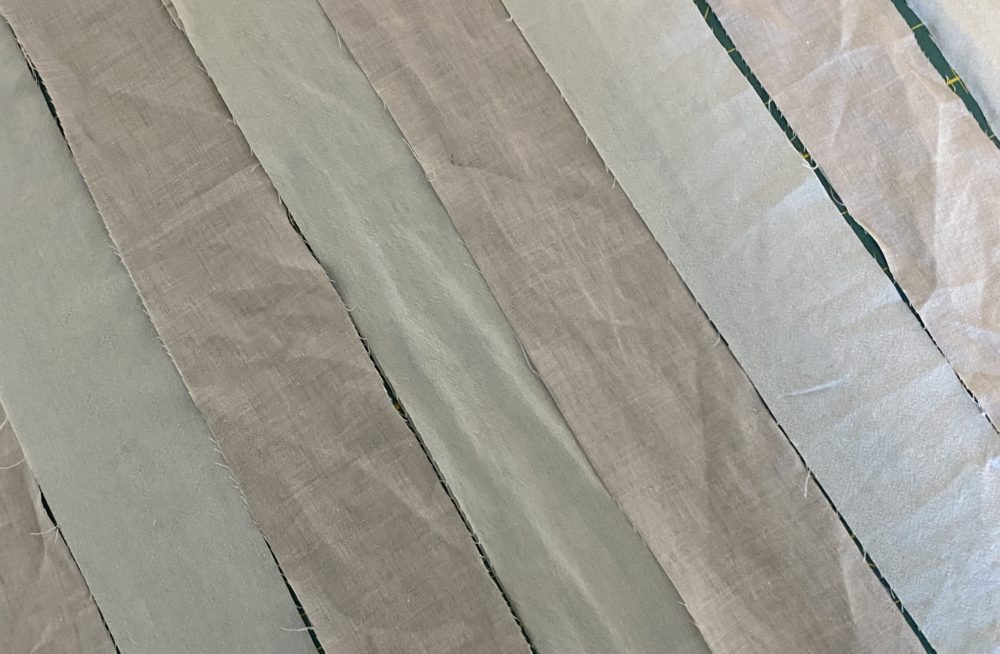
After the strips were finished, I laid them all out to a) make sure I had enough to fit the pattern pieces for the Ogden and b) make sure the pieces were long enough for the pattern. Because of the irregular shape of the shirts, the strips were all different lengths and some of the shorter strips were sewn together to make a longer strip where needed. I tried to use those strips that were sewn together under the arms so they were less visible than if I used them on the front. I kept the button hole and button placket from the original shirts and buttoned them together to create the center strip.


Once I had the strips laid out and was confident I had what I needed to make the pattern work, I started the process of serging all of the strips together. I decided to serge because it was faster than sewing on my normal machine and because serging provides a nice finish on seams, I thought it would reduce the possibility of any irritation. There are a lot of seams on the inside of this top and I wanted to make sure it wouldn’t be uncomfortable rubbing against my skin.
When it came to cutting the pattern out, I got a bit stuck as to how I could cut out the front piece in a way so that the buttons were centered because it was really finicky to try and fold the fabric in half right where the buttons were. I folded it on an offset sort of unintentionally, which meant that the buttons didn’t end up exactly center. I was a bit disappointed at first, but I actually really like how it came out in the final product.
After piecing together the fabric and cutting out the pattern pieces, I had to make bias tape for the inside facing. When I’ve made this top before, I wasn’t a huge fan of the facing pieces inside and how it fell relative to my bustline. Instead, I decided to follow the tutorial from SewNorth for a bias facing. This tutorial is a gamechanger and I think I’m going to use this method for future Ogdens I make, especially since it allows me to use less fabric overall for the same garment. To make enough bias tape for the front and back necklines, the armholes, and the bottom hem, it only took the fabric of one of the sleeves from the linen shirt. Again I used a ruler and the guides on my cutting mat to cut the bias tape quickly and easily. Then I brought in another gamechanger: the pin method for making bias tape. My friend Mel who works for the Love To Sew podcast did a great tutorial video for this on the Love to Sew Instagram page. This method is so easy to do and makes such quick work of the most tedious part of the bias tape process.
So far, I’m three-for-three on my ReMade May makes because I really love this scrappy Ogden Cami. At this point, I feel like these posts are getting a little redundant just because of how happy I have been with each of the projects. There really has been something so satisfying about the problem solving aspect of each of my makes this month. I feel like this refashioning challenge has not only allowed me to give a new life to old garments that would have otherwise been waste, but has really built my confidence in terms of being able to solve sewing problems.
I spoke to this in last week’s post but each week, I feel a little more empowered by my newest project. The challenge aspect of working to produce something roughly every week has also helped me to feel like I’m cultivating more of a sewing practice than I’ve had in a while. I think it’s easy to get complacent in our creative endeavours and I know that I personally have a bad habit of figuring things out and moving on. My ReMade May projects have encouraged me to practise certain skills over and over and lean into the labour of learning. I also have a tendency to dream about projects for weeks or months and never actually take action on those dreams. During the ReMade May challenge I’ve adopted a bit of a creative scrum process. Instead of dwelling on everything I can do, I’ve had to go from old garment to idea to finished garment in the span of a week. While I’m definitely not a fan of just churning out garments without any kind of intention or thoughtfulness, this challenge has helped me to develop my ability of turning my vision into reality.
—
Pattern: Ogden Cami
Size: 18 graded up and then adjusted back down
Fabric: thrifted linen and denim button up shirts

